How To Construct A Paper Doll
How to Construct a Paper Doll from Erika’s Attic
Paper dolls are a time-honored past time enjoyed at any age. Learn to make your own paper doll in a modern era by downloading and constructing a printable paper doll. Instructions and a list of recommended materials are included in this tutorial. I also added a few ideas on how to take your paper doll crafting to the next level.
Recommended Materials:
8.5x11” Printer Paper:
You can use regular printer paper, cardstock, or fine art paper. A thicker paper makes the doll more sturdy, but regular printer paper is a fine choice.Scissors or Craft Blade:
To cut out your paper doll and clothes.Glue or Tape:
To attach the clothes to the paper doll.Mini Brads(fastener) or Ribbon:
To attach the articulating parts of the doll.A Pin & Round Toothpick:
To poke holes in the joint for the brads.¼” x 12” Dowel Rods
or popsicle sticksPrintable Paper Doll Used Here:
Gertrude Autumn Edition Paper Doll
• I’ll leave a list of materials I like to use at the end of the tutorial below.
Step by Step Instructions
1. Print out your doll. If you don’t have a printer at home, try a local printing service such as Staples, or Office Depot. Your local library may also offer some printing services.
2. Cut out all of the pieces
3. Design your doll by laying out the pieces you want to use. This step helps to visualize the end result and avoid mistakes.
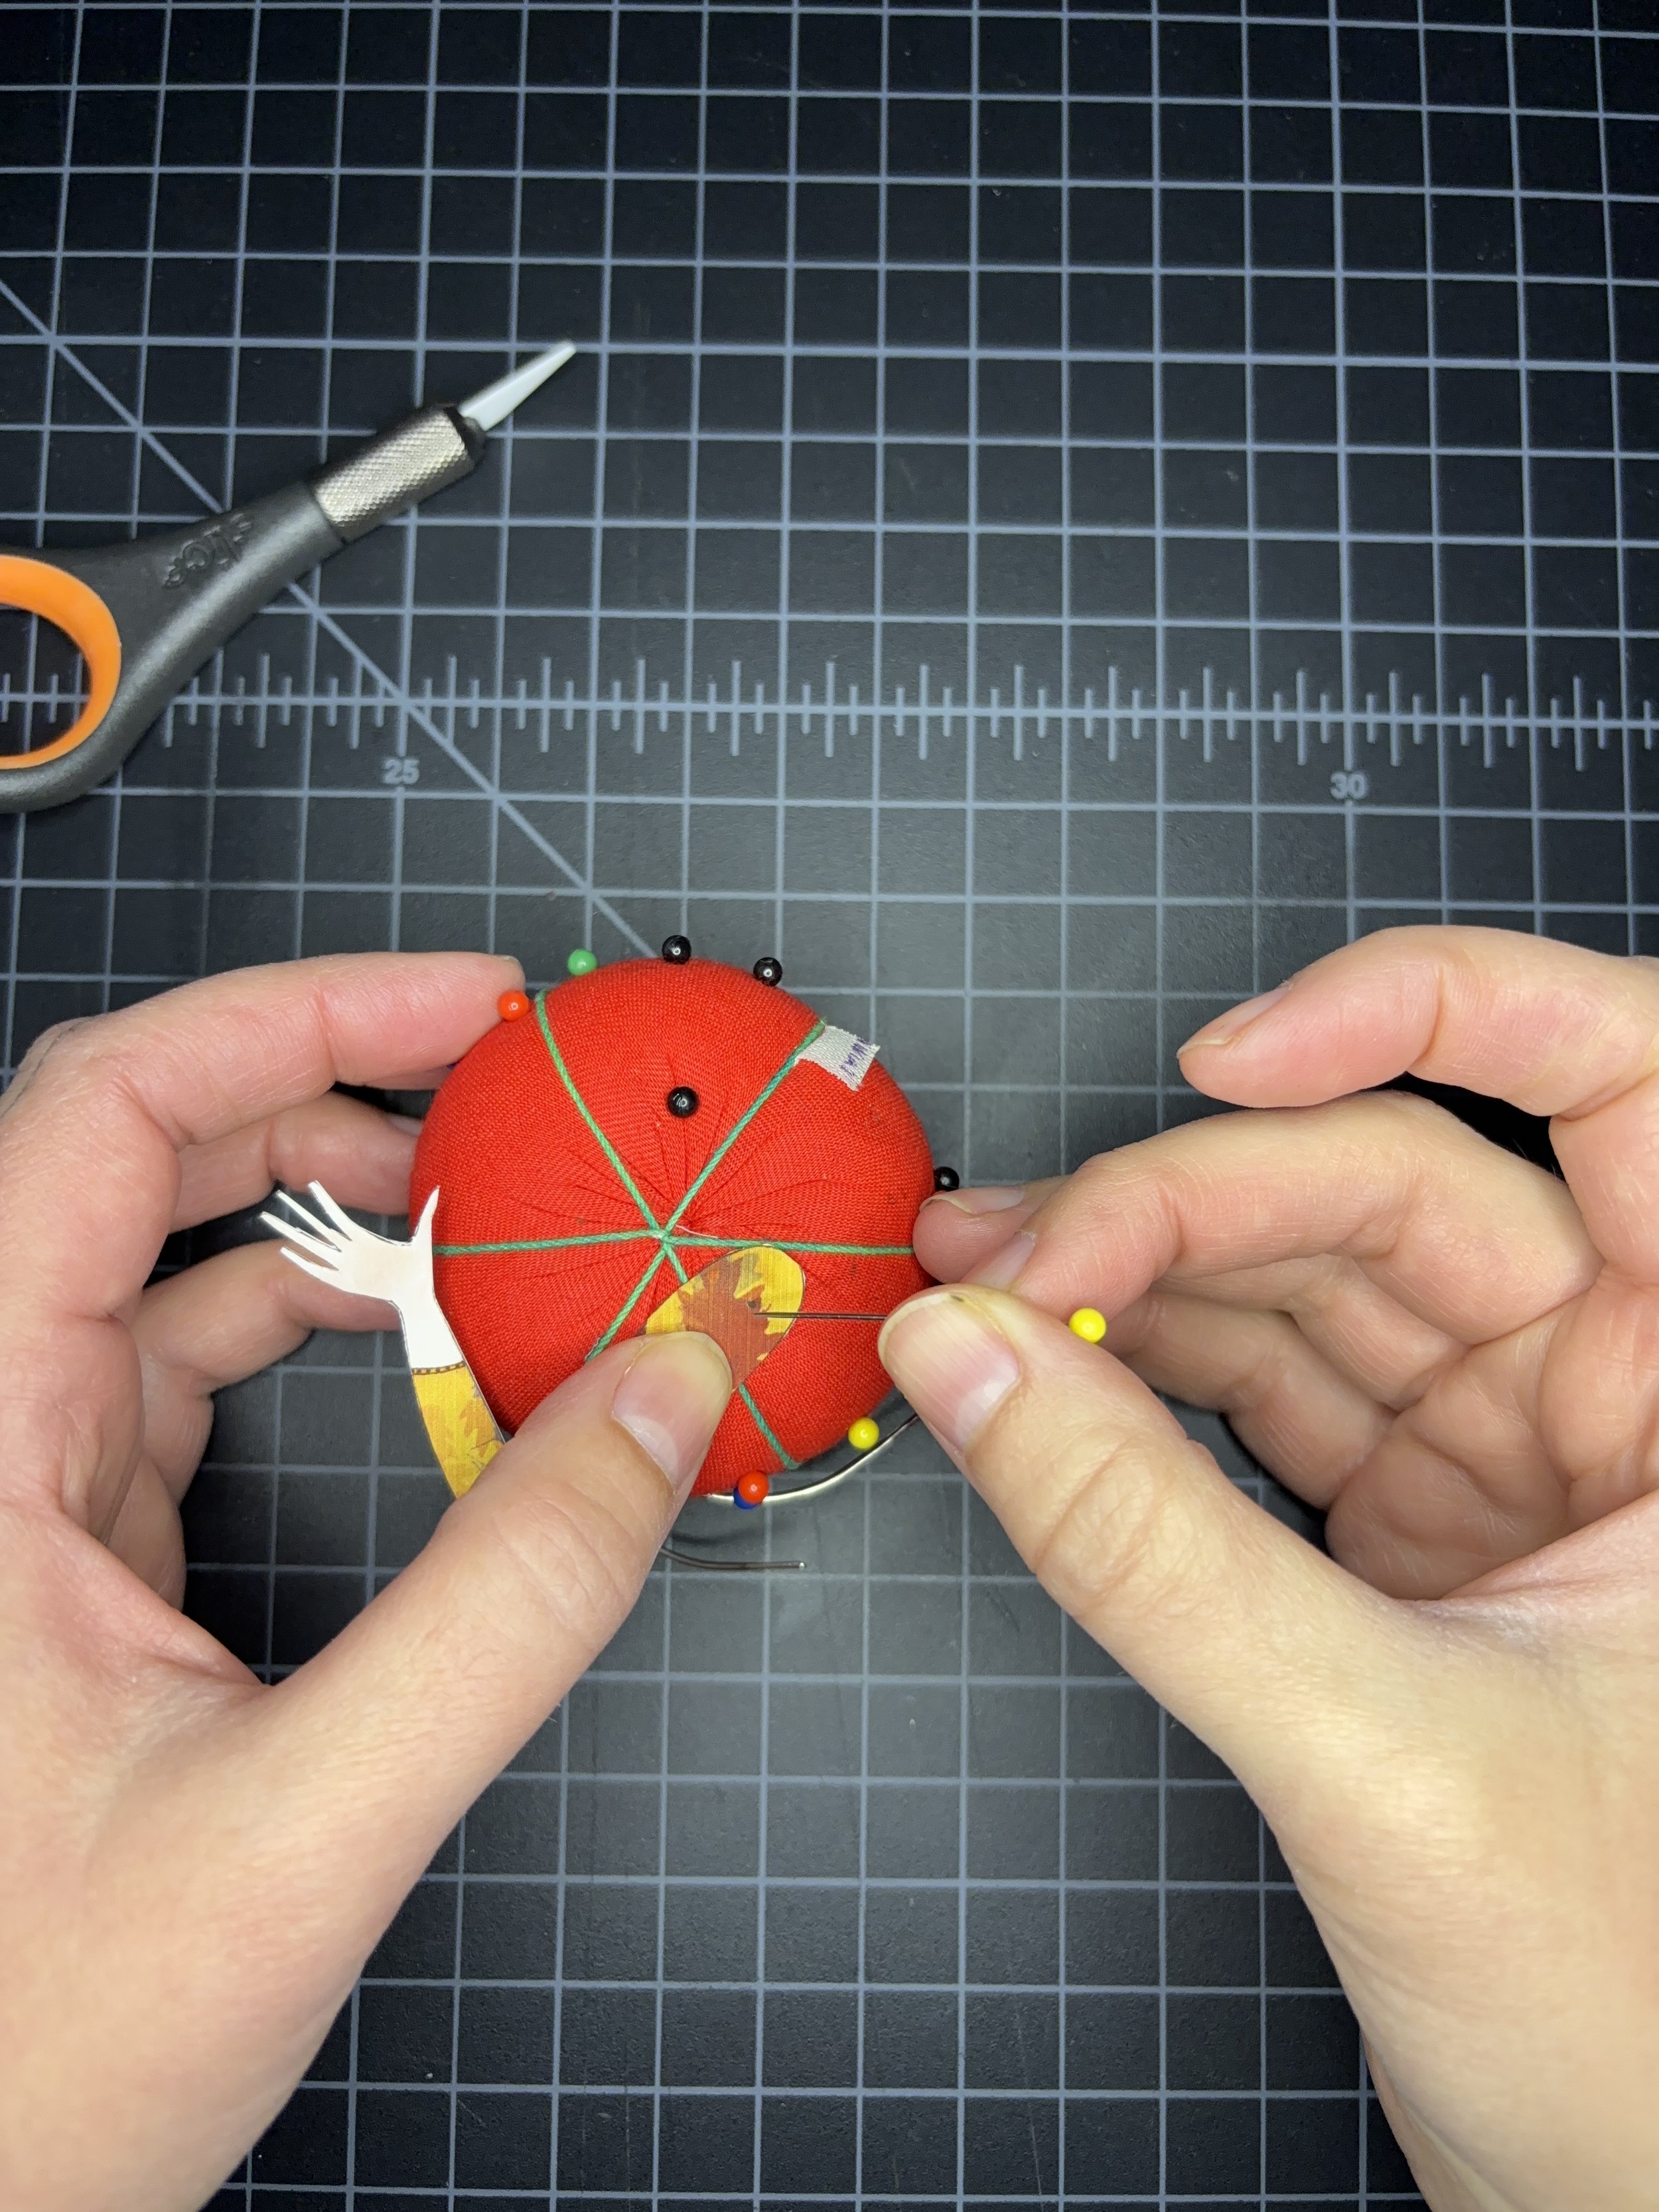
4. Using a pin & a round toothpick, poke a hole in all of the joints where the brads will go. I use my pin cushion to lay under the paper to make this easier. Then I use the toothpick to gently open the hole enough to fit the brad or ribbon. An awl may also be used.
5. Slide the brads through the holes and open them in the back to secure the pieces together. Some sections may have multiple layers, like where the arms, clothes, and the head meet. I use one brad for those areas.
6. Glue or tape your accessories to your liking.
7. Affix the dowel to the back with glue or tape. Your paper doll is now ready for play or display.
More Ideas:
If you’d like more flare on the back side, try adding washi tape, painting, or gluing fabrics or art paper to jazz up the back.
Using a needle & thread, create stitches to embellish outlines and add texture to your doll.
Gluing or stitching added fabrics, sequins, or papers can be a fun way to make your doll truly unique.
You can use natural materials, like leaves, grasses, or pressed flowers to take your creation to another level.
If you have more ideas, I’d love to see them! You can share by tagging me @erikasattic
Tools & Materials I Used in this Project
Printable Paper Doll:
Gertrude Autumn Edition Paper DollScissors:
Fiskars SoftGrip Micro-Tip ScissorsCraft Blade:
Slice Precision Grip with finger gripPrinter Paper:
Epson Presentation Paper MATTE 8.5x11”Adhesive:
Glue Dots - RemovableDowel:
1/4” x 12” Dowel Rods
• These are affiliate links of items I like & regularly use. I may earn a commission.


